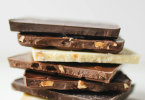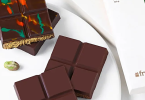
There has been a noticeable rise in interest in how to make Dubai chocolate, especially in how it blends rich chocolate layers with textured fillings. The appeal is not limited to taste. It is also about contrast: the outer shell tends to stay smooth and firm, while the inside offers a mix of crunch and softness that feels unusual.
What is often referred to as Dubai chocolate usually includes a combination of melted chocolate, a pistachio-based filling, and crisp elements such as kunafa or wafer. The structure matters more than the exact ingredients. Small changes in proportions can significantly affect the final texture, so the process needs close attention at each stage.
Below is a straightforward way to approach how to make Dubai chocolate at home without overcomplicating the steps.
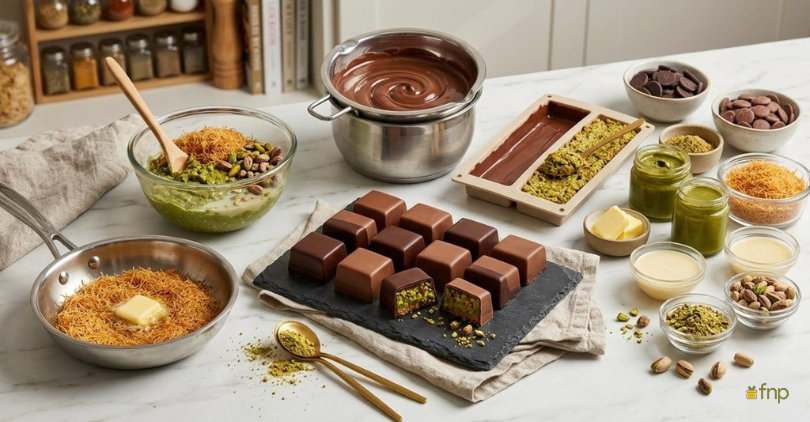
Ingredients You Will Need
- Dark or milk Dubai chocolate base (high-quality compound or couverture chocolate)
- Finely shredded kunafa or vermicelli
- Pistachio paste or crushed pistachios
- Butter (for roasting)
- Condensed milk or white chocolate (for binding the filling)
- A pinch of salt
- Optional: tahini for added depth
The ingredients can be adjusted slightly, but the combination of chocolate, nutty filling, and a crisp layer is what defines Dubai chocolate.
Step 1: Preparing the Crisp Layer

Start by lightly roasting the shredded kunafa in butter over low heat. The goal is to get an even golden texture without burning it. This step is important because it introduces the crunch that balances the softer filling.
While learning how to make Dubai chocolate, this stage often gets rushed, but it directly affects the final texture. Once done, let it cool before mixing it with anything else.
Step 2: Making the Pistachio Filling
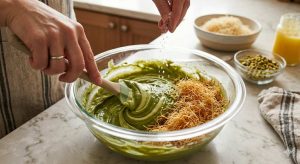
In a bowl, combine pistachio paste with a small amount of condensed milk or melted white chocolate. Mix until it forms a thick, spreadable consistency. Add a pinch of salt to balance the sweetness.
At this point in how to make Dubai chocolate, the filling should not be too runny. It needs to hold its shape when layered. Fold in the cooled kunafa to create a mixture that has both texture and structure.
Step 3: Melting the Chocolate

Melt the chocolate using a double boiler or microwave in short intervals. Stir in between to avoid overheating. The chocolate should be smooth and glossy, without lumps.
For Dubai chocolate, the outer layer needs to set firmly, so tempering or controlled melting helps achieve a better finish.
Step 4: Layering the Chocolate
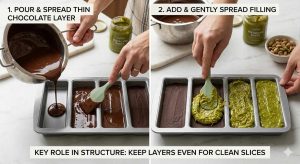
Pour a thin layer of melted chocolate into a mould or a lined tray. Spread it evenly and let it set slightly, not fully hardened, just firm enough to hold the filling.
Add the pistachio-kunafa mixture over this layer and spread it gently. Avoid pressing too hard, as it can disturb the base.
This step defines the structure when working through how to make Dubai chocolate, so keeping the layers even helps in getting clean slices later.
Step 5: Sealing and Setting
Pour another layer of melted chocolate over the filling, ensuring it covers the surface completely. Tap lightly to remove air gaps.
Let the entire setup rest in the refrigerator until fully set. Once firm, remove from the mould and cut into pieces.
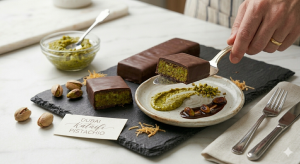
At this stage, the texture should show a clear contrast between the outer chocolate shell and the inner filling, which is a key characteristic of Dubai chocolate.
Conclusion
Preparing Dubai chocolate at home requires some patience, especially in handling layers and textures. It is less about complexity and more about timing and balance between ingredients. For those who prefer ready-made options or curated gifting formats, it is also possible to explore chocolate bouquet arrangements or order premium versions directly. If needed, you can also buy Dubai chocolate from FNP, where professionally crafted options are available without going through the full preparation process.